Zion National Park Day 1 - Zion Canyon by Kenny & Kristen

Posted on 2019-05-10
We went in to this trip with a" VERY rough outline of a plan. The idea was basically show up to the park, try to get a backcountry pass for one night in whatever area was open, and then plan the rest of the trip around that to car camp and see as much of the park as possible.
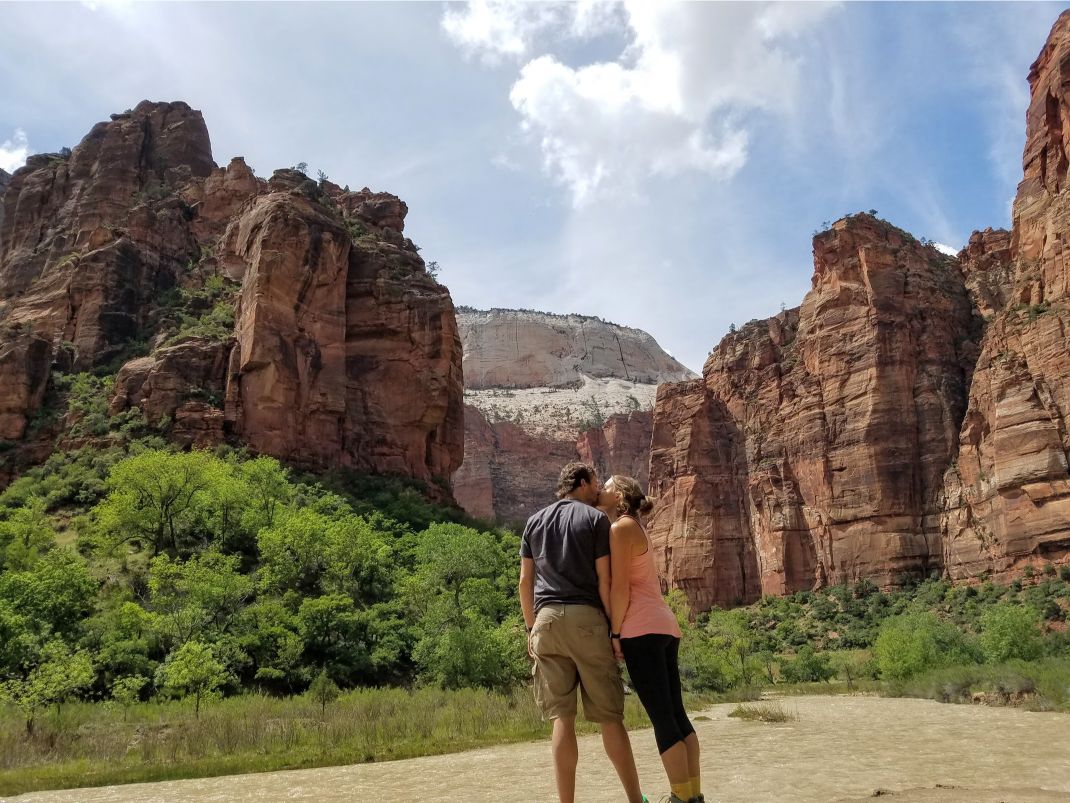
The "main" area of Zion National Park is the canyon. This is where the visitor center is, the two main campgrounds, and the shuttle route. This is also where the vast majority of visitors will spend their entire time at Zion. It's kind of like a much smaller version of the Yosemite Valley (in terms of crowds and land areas, the views are just as fantastic albeit in a completely different way). The rest of the park has to be accessed through wilderness permits and you have to actually drive out of the park and back in another entrance to get to other trailheads.
Somehow, within 20 minutes of getting to the park, we changed our plan to 4 days and 3 nights of backcountry camping and a "~40 mile" hike across Zion National Park. I think we were just overexcited about the backcountry permit availability and all of the possibilities! Needless to say we did not do as much research and critical thinking as we could have or should have before we chose our campsites for each night. Read Day 2 and 3 for more details on how that turned out.
So we had the rest of the day to get ready for our backcountry adventure and explore the more populated part of the canyon. To get ready for the hike we had to:
1. Buy waste bags. You’re not supposed to dispose of your poop naturally (a.k.a. bury it) in Zion. Instead the rangers require you to bring these waste bags you buy at the gift store and carry it out. Thank goodness for pit toilets at the trail heads. We bought some in case of emergency but didn't use any.
2. Find a ride up to Lee Pass. It's a one way hike and there are no shuttles outside of the main canyon. The other option was hitchhiking, but I’ve been listening to way too many true crime podcasts for that
3. Figure out how to get all of our food into our backpacks
4. Find a camping spot for the night before heading out to the backcountry. As of May 2019 the National Park Service website indicated that South campground was first come first serve, but actually all campgrounds in Zion National Park are actually reservation only now. We ended up checking in at Watchman campground after 12 pm and snagged one of the few available spots.
Once we had everything more squared away, we headed off to explore the canyon. We started with the Watchman hike, which was marked as moderate and accessible directly from the visitor center. It took us about an hour and a half. There were some up hill sections and some muddy places, but over all it was a nice hike with beautiful views of the Watchman canyon. This was the first place where we were hit with the incredible views of the contrasting red rock, green trees, and blue skies of Zion. 
Zion has a really nice shuttle service that runs between the Zion Canyon Visitor Center and the Temple of Sinawaya. There are no cars permitted on the main road, so the shuttle is really the only way to get around. It's a 90 minute ride round trip and you never wait more than a few minutes for the next bus. It's a great way to relax and see some awesome views of the park. The peaks and meadows reminded us of a red Yosemite Valley almost.
The first day hike that we tackled was the River Walk at stop 9 (the last stop on the shuttle). It's a short walk on a paved trail that follows the Virgin River. At some points during the year you should be able to see the Narrows from the end of the trail and even walk up them a bit, but the water levels were way too high when we were there. The whole Narrows trail was closed off an inaccessible. 
We jumped back on the bus afterward and went down to the Weeping Rock. This was our favorite view of the whole day. It was a misting waterfall over a deep red rock face that looked like a dream world. The hike itself was also paved which made for really easy walking and a relaxing trip.

After Weeping Rock we headed across the street from the shuttle station for a quite snack break and some additional good views.
We jumped back on the shuttle and headed one stop down to the Grotto trail where we walked a relaxing half mile down to the Zion Lodge. The trail head for the Lower Emerald Pools is directly behind the Zion Lodge. The trail led up to another streaming waterfall into a pool of green-ish water.

There are additional paths up to the middle and upper Emerald Pools but they were both closed in May when we were there.
We wrapped up our day at about 16 miles of walking. We relaxed afterward at our campsite where we celebrated my 29th birthday with the fanciest camping dinner we've ever had - Steak fajita foil packets followed by birthday cake!

Search Posts by Tags
Labels
- Hiking
- national park
- backpacking
- Waterfalls
Quick Look:
I Want More!
Find this post interesting? Check out other posts from this section!